The festive season is upon us again, which also means that it’s the season to give out presents to your loved ones!
Unfortunately, not all of us are blessed with gift-wrapping talents, but thankfully there are many tutorials out there that can help make our lives a lot easier, especially when we have so many gifts to prepare.
We share the best tutorials that you’ll need to wrap your presents (including those odd-shaped ones!), as well as how to tie lovely bows that will make your recipients squeal in delight.
How to wrap & fold your presents
Basic wrap
If you hare a regular-shaped present, the most straightforward (and arguably the simplest) way to wrap your present is to simply fold a piece of wrapping paper over the item, tape as needed, and then repeat on all ends until everything is fully covered.
However, take note that you must get the dimensions of your wrapping paper correct, or you may end up with too much excess on one side and not enough paper to wrap over on another.
DIY gift bags
You’ll never have to buy gift bags again with this nifty trick! All you really need is beautiful wrapping paper, scotch tape, and scissors to create the bag, but feel free to add ribbons as well to add a cute touch to your bags.
See full instructions on how to fold DIY gift bags here.
Origami-inspired method
For the quickest way to wrap a gift, turn to the Japanese art of origami — and use just three tiny pieces of tape and some wrapping paper!
Traditionally, when we wrap gifts, we center it straight onto the paper but this technique starts instead on a diagonal edge of your gift wrap.

Watch the video and see full instructions on how to fold using the origami method here.
Matchbox suitcase gift wrap
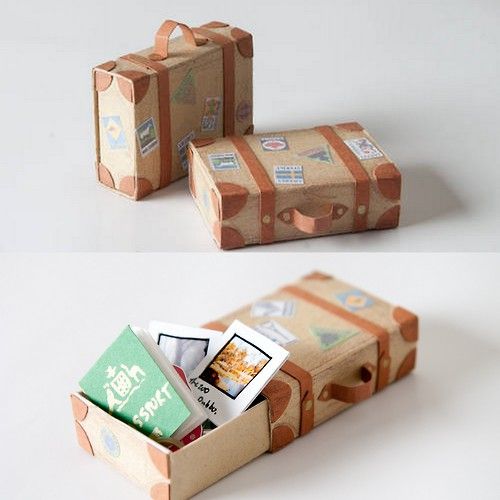
This matchbox suitcase gift box uses brown wrapping paper and a matchbox to create a gift packaging that no one will bear to throw away.
Although originally intended to keep small gifts (hence a matchbox), you can use a bigger cardboard box instead to create larger suitcases that can fit your presents.
See full instructions on how to create a matchbox suitcase gift wrap here.
How to wrap odd-shaped items
Create a gift sack out of wrapping paper and ribbon
This easy method allows you to wrap presents of any size and shape. It also allows you to use wrapping paper that may have been crumpled or crinkled from previous failed wrapping attempts.
All you need to do is to place the gift on a large sheet of wrapping paper, pull the edges around it up to the top like you’re creating a sack, and then tie it up with some decorative ribbon.
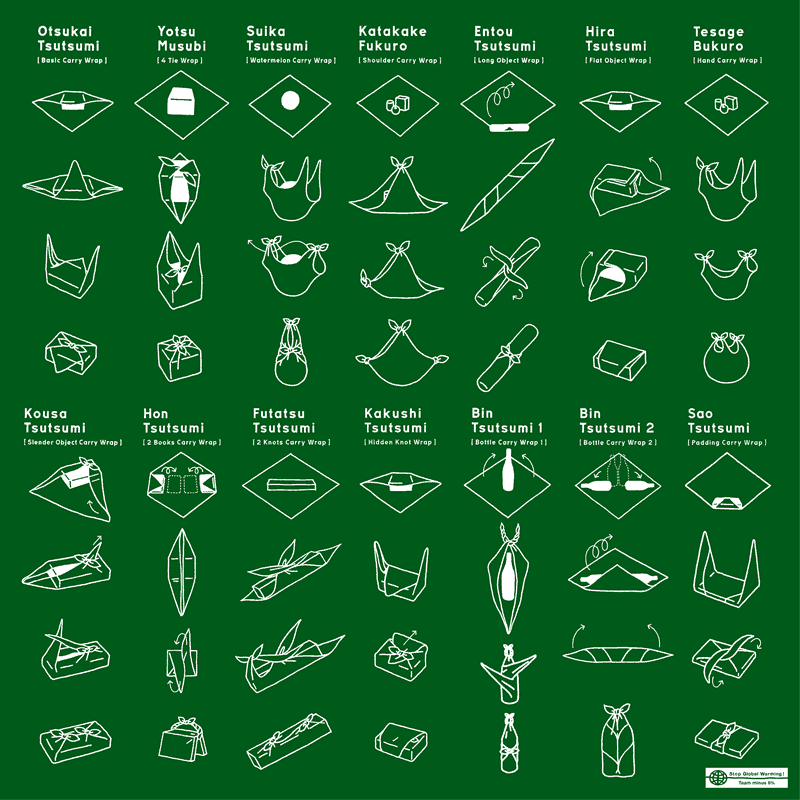
Furoshiki gift wrap
This is Marie Kondo’s favourite gift wrapping method, so you know this has to be legit.
This Japanese method is essentially using a piece of cloth to wrap about anything you can think of. For wrapping, the object should be approximately one-third of the furoshiki’s diagonal line and there are some traditional sizes that tend to work well for a range of objects.
- 50 cm – small book
- 70 cm – T-shirt
- 90 cm – a bottle of wine
The wrapping method is very simple, in which you tie two of the wrapping material’s corners together, reversing the ends to make it look like lotus petals. Then you just repeat the same thing with the other two corners and it looks like a lotus flower on top. This works especially well if your wrapping material is softer and is different on each side.
See below for a quick guide on how you can also wrap other odd-shaped items with this furoshiki.
Use gift bags
If all else fails, you can always resort to keeping your oddly-shaped presents in a gift bag instead of wrapping them.
In addition to the one we shared previously, here is another one that you may attempt if you prefer gift bags that are easy to carry around:
How to decorate your presents
Although you can easily buy ready-made ribbons and stick them onto your beautifully-wrapped presents, nothing beats making your own unique ones to show your sincerity!
Besides the usual ribbon bow that looks great and appropriate for anyone you may be gifting the present to, we’ve also shared a few quirky (but just as gorgeous!) ways you can top it off and make for a present that any recipient will definitely love.
The perfect ribbon bow

This classic bow is actually not as difficult to create as you may think, but it does require a fair bit of practice – we recommend that you try this out before you get around to wrapping your actual presents.
You will first need to prepare by measuring the height from the base of one end, the length across the top, and the height from the top to the base of the opposite end. You will need 5 to 6 times the total lengths to tie the bow around the package, so you will definitely want to buy a few rolls of ribbons just to be safe!
See full instructions on how to create the perfect ribbon bow here.
Rainbow yarn wrappings
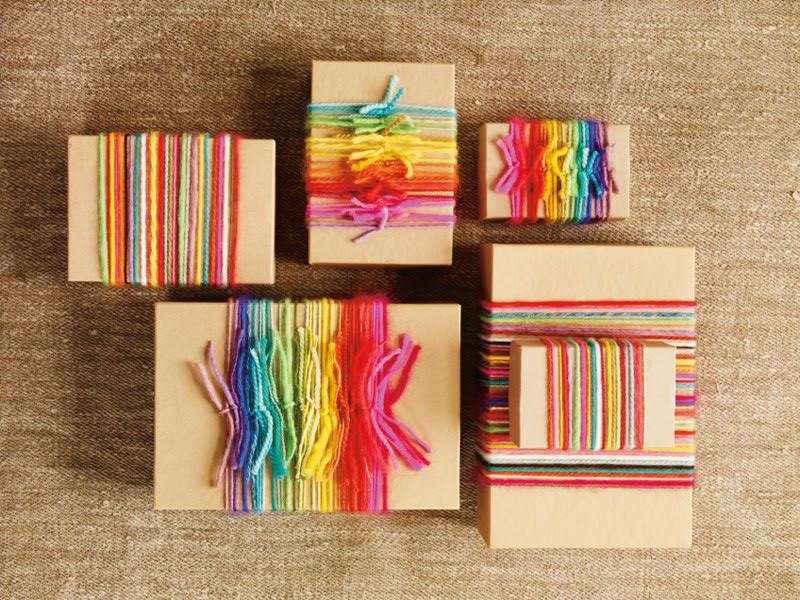
Forget big and fancy bows – you can just use yarn to create a colourful wrapping alternative!
It can be rather time-consuming to tie each piece of yarn, but it is much easier to create as compared to the bow we shared above.
You will need to prepare different-coloured yarn, cut strips of appropriate lengths, and then tie a dead knot around the gift (preferably regular-shaped). For extra assurance, you may also add some glue or double-sided tape to ensure that the yarn will stick well.
Felt mistletoe and jingle bells
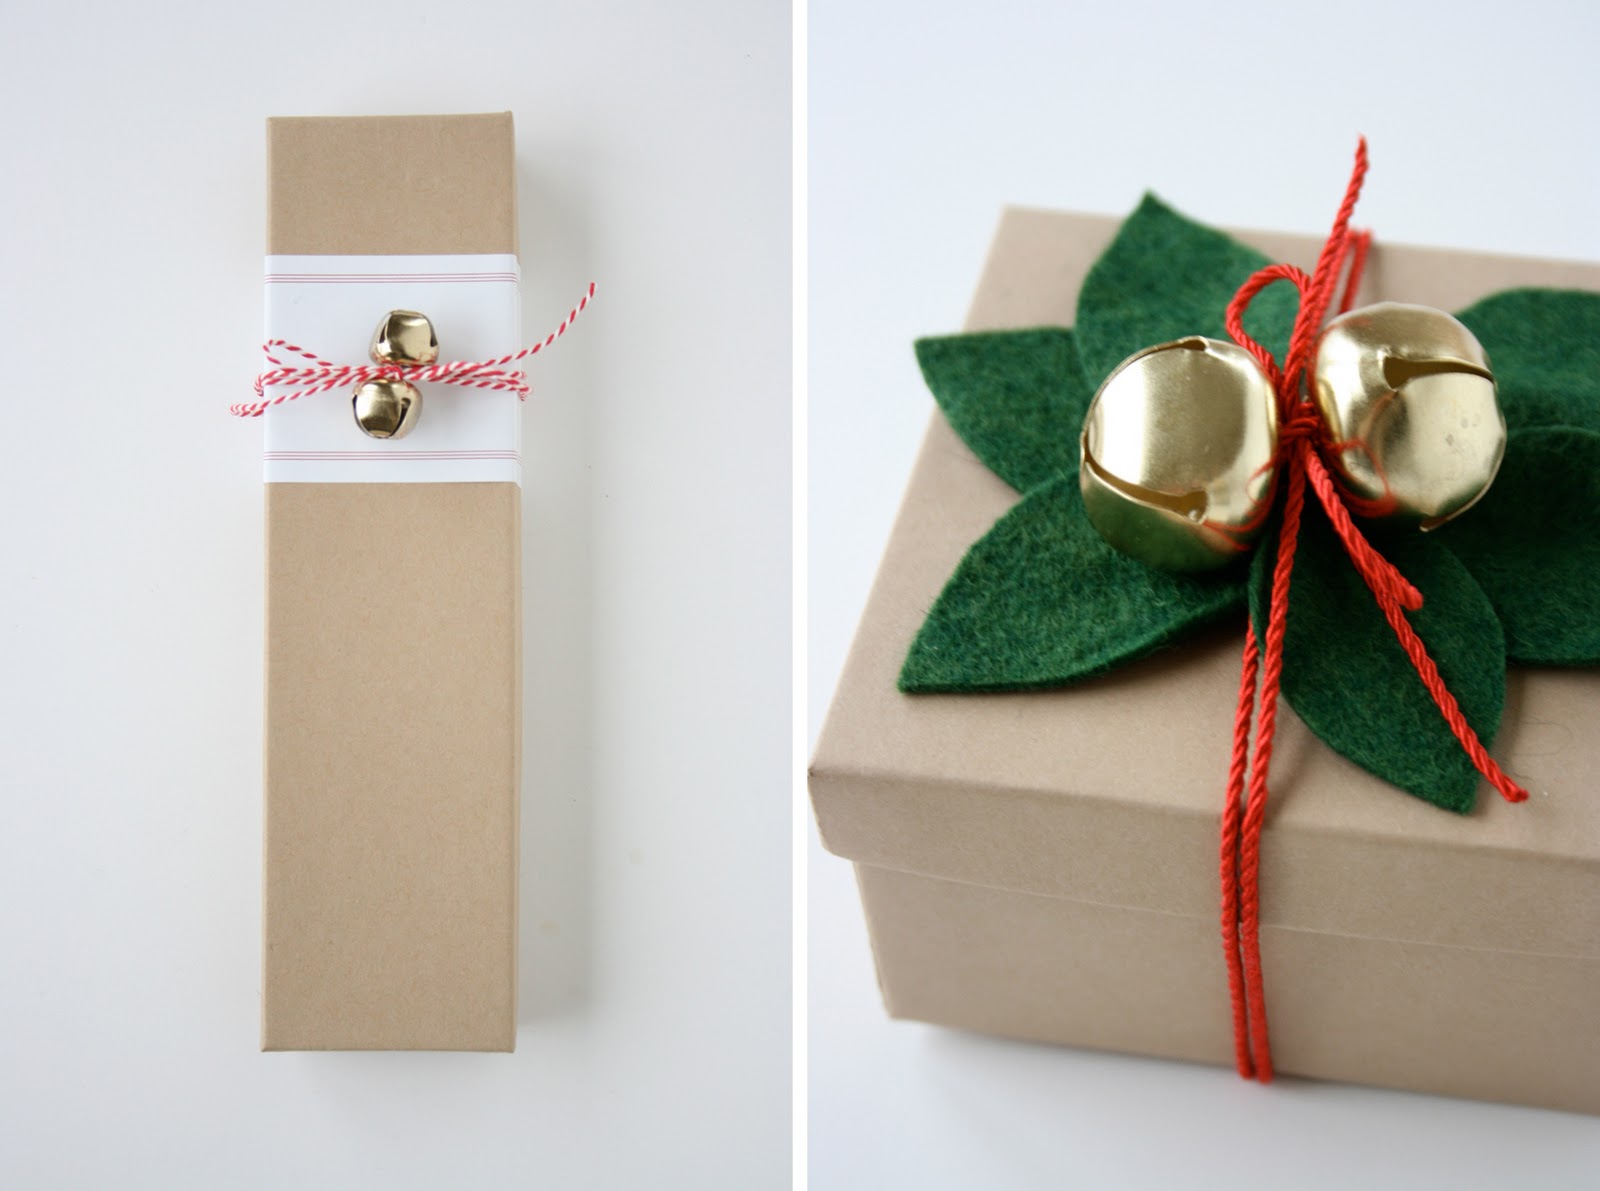
Add some festive cheer to your presents with the mistletoe and jingle bells!
You don’t necessarily have to get the real deal – just get green felt, cut out leaf shapes, and arrange them in the shape of mistletoe before sticking them on. You’ll also need thin strings (preferably red or gold) to fasten your bells and wrap around your presents.
Take note that this decor idea can be applied to any other types of presents as well. For example, you can switch out the mistletoe for a heart-shaped felt cutout and the bells with acrylic crystals for Valentine’s Day – you just have to be a little creative!
Pom pom garlands and a candy cane
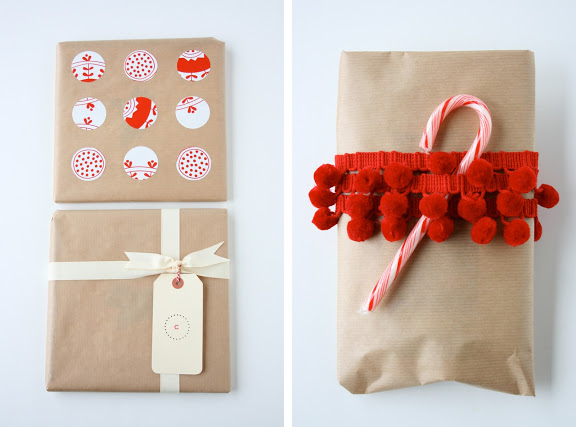
If you want to get your present noticed among the crowd during gift exchange, swap out the usual ribbons and tape for cute pom poms!
Pom pom tassels can be easily purchased in craft shops and on online platforms like Shopee at affordable prices, and are super easy to use. Just wrap it around your present (irregular-shaped ones work fine for this) and cut as needed.
The best part? You can even slot surprises like a candy cane in between the tassels – sweet!


