“Self-photo studios” are a huge trend recently and we can see the appeal. Instead of spending a significant budget on a two-hour long photoshoot, self-photo studios (or selfie-studios) let you take your photos yourself using their professional setup, so you can spend less time and money on high quality photos.
It certainly sounds good on paper, but we want to know if the experience is just as wonderful in person. As such, we made a booking with Self-Photo Studio Singapore, which owns the largest collection of self-photo studios in Singapore. You can book for any of their studios using their one-stop website, including a pet-friendly one at Photoism@Tampines One.
Among the eight locations, I picked Photoholic@Orchard Gateway because I was going to be at the mall for an errand.
What are the packages available at Photoholic@Orchard Gateway?
A basic package costs S$30, and it includes 15 minutes of shoot, one photo print, one collage photo print, and two digital photos. (Note: they’re running a promotion at the time of writing so you can expect more shoot time, prints, and digital photos in this package.)
This is suitable for those who just want to have a taste of the self-photo studio experience and as a fun activity with a loved one.
The package I expect to be most popular would be the Premium Package (S$70), which gives you 30 minutes of shoot time, a wall frame with a photo, full digital copies, and six single photos.
For those who are looking to celebrate an occasion, you may want to consider the VIP package (S$120), which comes with 30 minutes of shoot time, four wall frames with photos, full digital copies, eight single photos, and a photo letter.
What’s the process like at a self-photo studio?

After reaching the studio, I was ushered to a private room where a professional setup and equipment were ready for use.
The setup was simple: a backdrop in the colour of your choice and a box stool for you to sit on or pose on if you wish. Lights and a DSLR camera were set up according to professional standards, and I was given a remote control, as well as a big screen to view my shot.
All I needed to do is to use the remote control to snap my shots and check using the screen to make adjustments. Then, I could take as many photos as I can within the time given.
Once the time was over, I headed out to the computers located at the waiting area to select my favourite shots to have them printed.
Self-photo studio review

I’ve always been a little awkward with photo-taking, which is why all my passport photos looked weird (that was before we could submit our own selfies to the authorities.)
Having no photographer to guide me at the self-photo studio was both a good and bad thing – I felt a little lost at first, not knowing what to do and how to pose, but I got comfortable quickly to try out different funny poses and just have a fun time, since there was noone there to “judge” me!
The shooting process was a breeze – everything was easy to use so it only took us a minute or so to warm up and take our first shot.
30 minutes flew by really quickly but I was glad that with the VIP package I took, I was able to enjoy every digital copy – yes, even the ones that I didn’t like at first, because these are also funny memories to look upon, even if I wasn’t about to share them publicly.
Unfortunately, on the day that I visited, the studio at Orchard Gateway had technical glitches – I understood that they faced problems with their printer and desktop, leading to a backlog issue with printing. As such, I wasn’t able to receive my prints on the same day and was asked to return to collect them another time.
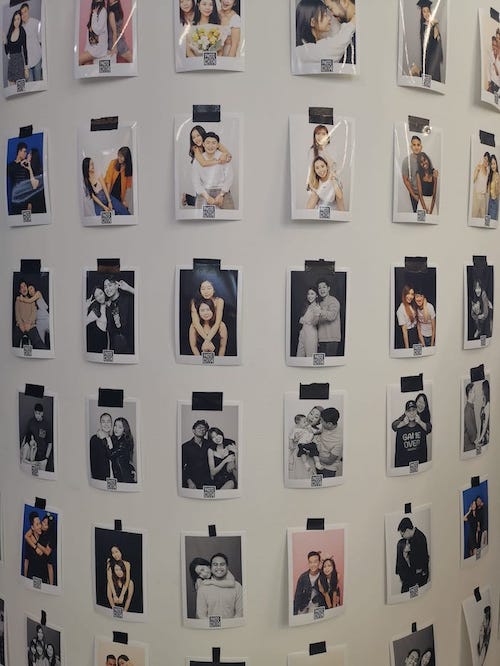
Nonetheless, I was happy with the prints after I’ve received them; the quality was good and could definitely pass off as photos taken by at a professional studio by a photographer.
Self-photo studio: Tips to share
Now that I’ve gone through it once, I am intending to return with some of my gal pals; it would be a good way to commemorate our over-a-decade long friendship with a photo-shoot at a steal.
And the next time I’m back, I’ll be more prepared to make the shoot an even better one, and here are tips I’d like to share with you too.
- Plan your outfit: As you can pick your preferred backdrop colour, consider planning your outfits to go with the backdrop and with the people you’re taking the photos with.
- Prepare a list of poses and shots: I found that I “wasted” quite a bit of time thinking of poses in between shots so even though I had a 30-minute session, the only “productive” time I had pressing the shutter was probably only about 20 minutes or less. The next time I go, I’ll prepare a list of poses to do, and perhaps do a few individual shots too, so we could go down the list and not waste time.
- Hide the remote control: While posing, think of ways to hide the remote control from the frame for a more natural-looking shot.
- Bring your own props: Some props are provided but you can consider bringing props that mean something to you, such as a momento.
- Keep clicking: Since you get to select from all the shots you’ve taken, don’t take too much time assessing how the previous picture go, other than to use it to make some adjustments in positions and poses. This will give you more shots to select from at the end of the session.
Photoholic is located at 277 Orchard Rd, Orchard Gateway, #02-01, Singapore 238858. You can check out other studios under Self-Photo Studio Singapore here.


